DIY Drywall and Plaster Repair: Expert Tips for Ottawa Homeowners


Understanding Drywall and Plaster
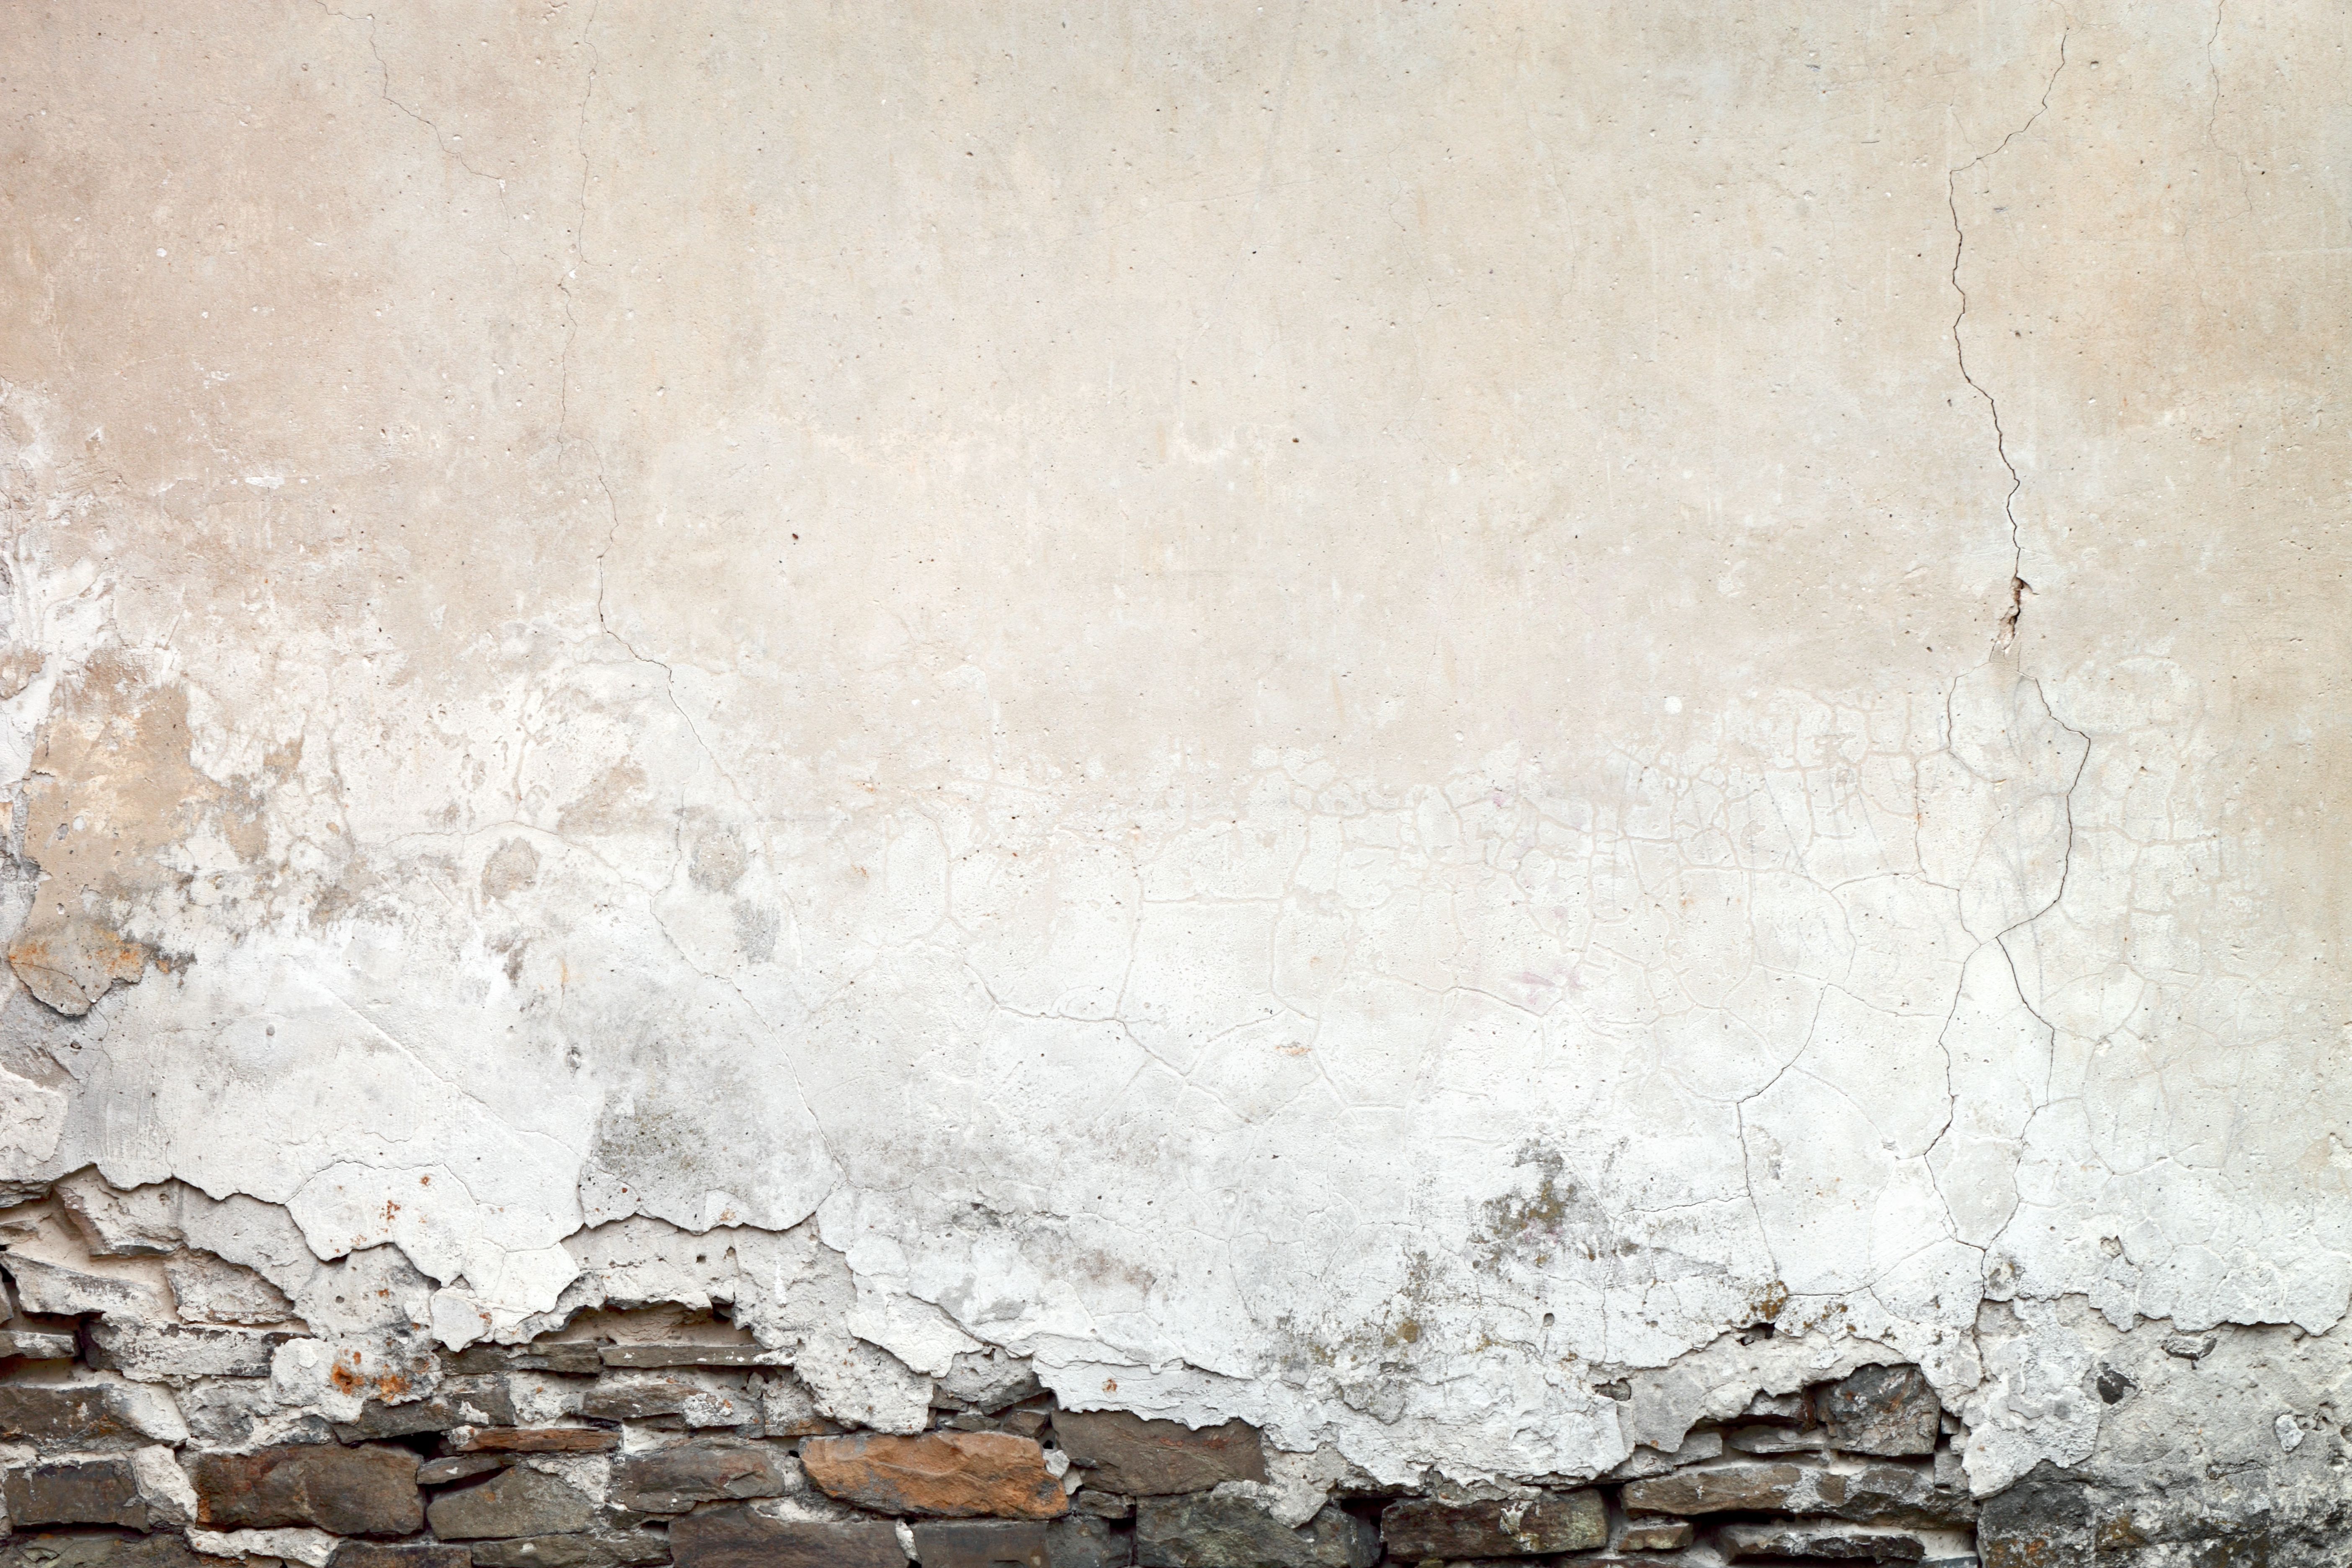
Drywall and plaster are essential components of many homes in Ottawa, offering a smooth, finished look to walls and ceilings. While drywall is composed of gypsum panels sandwiched between layers of paper, plaster involves a more traditional method using a mix of lime, sand, and water. Both materials, however, can suffer from wear and tear over time, leading to cracks, holes, and other imperfections.
Whether it’s due to settling foundations, moisture damage, or accidental impacts, knowing how to repair these issues can save homeowners both time and money. With a few expert tips, you can tackle these repairs yourself and maintain the aesthetic appeal of your home.
Tools and Materials You'll Need
Before starting any repair work, it's important to gather the necessary tools and materials. For most drywall and plaster repairs, you will need:
- Utility knife
- Joint compound or plaster mix
- Putty knife
- Sandpaper or sanding block
- Drywall tape or patch kit
- Primer and paint
Having these items on hand will ensure a smoother repair process and help you achieve professional-looking results.
Repairing Small Holes and Cracks
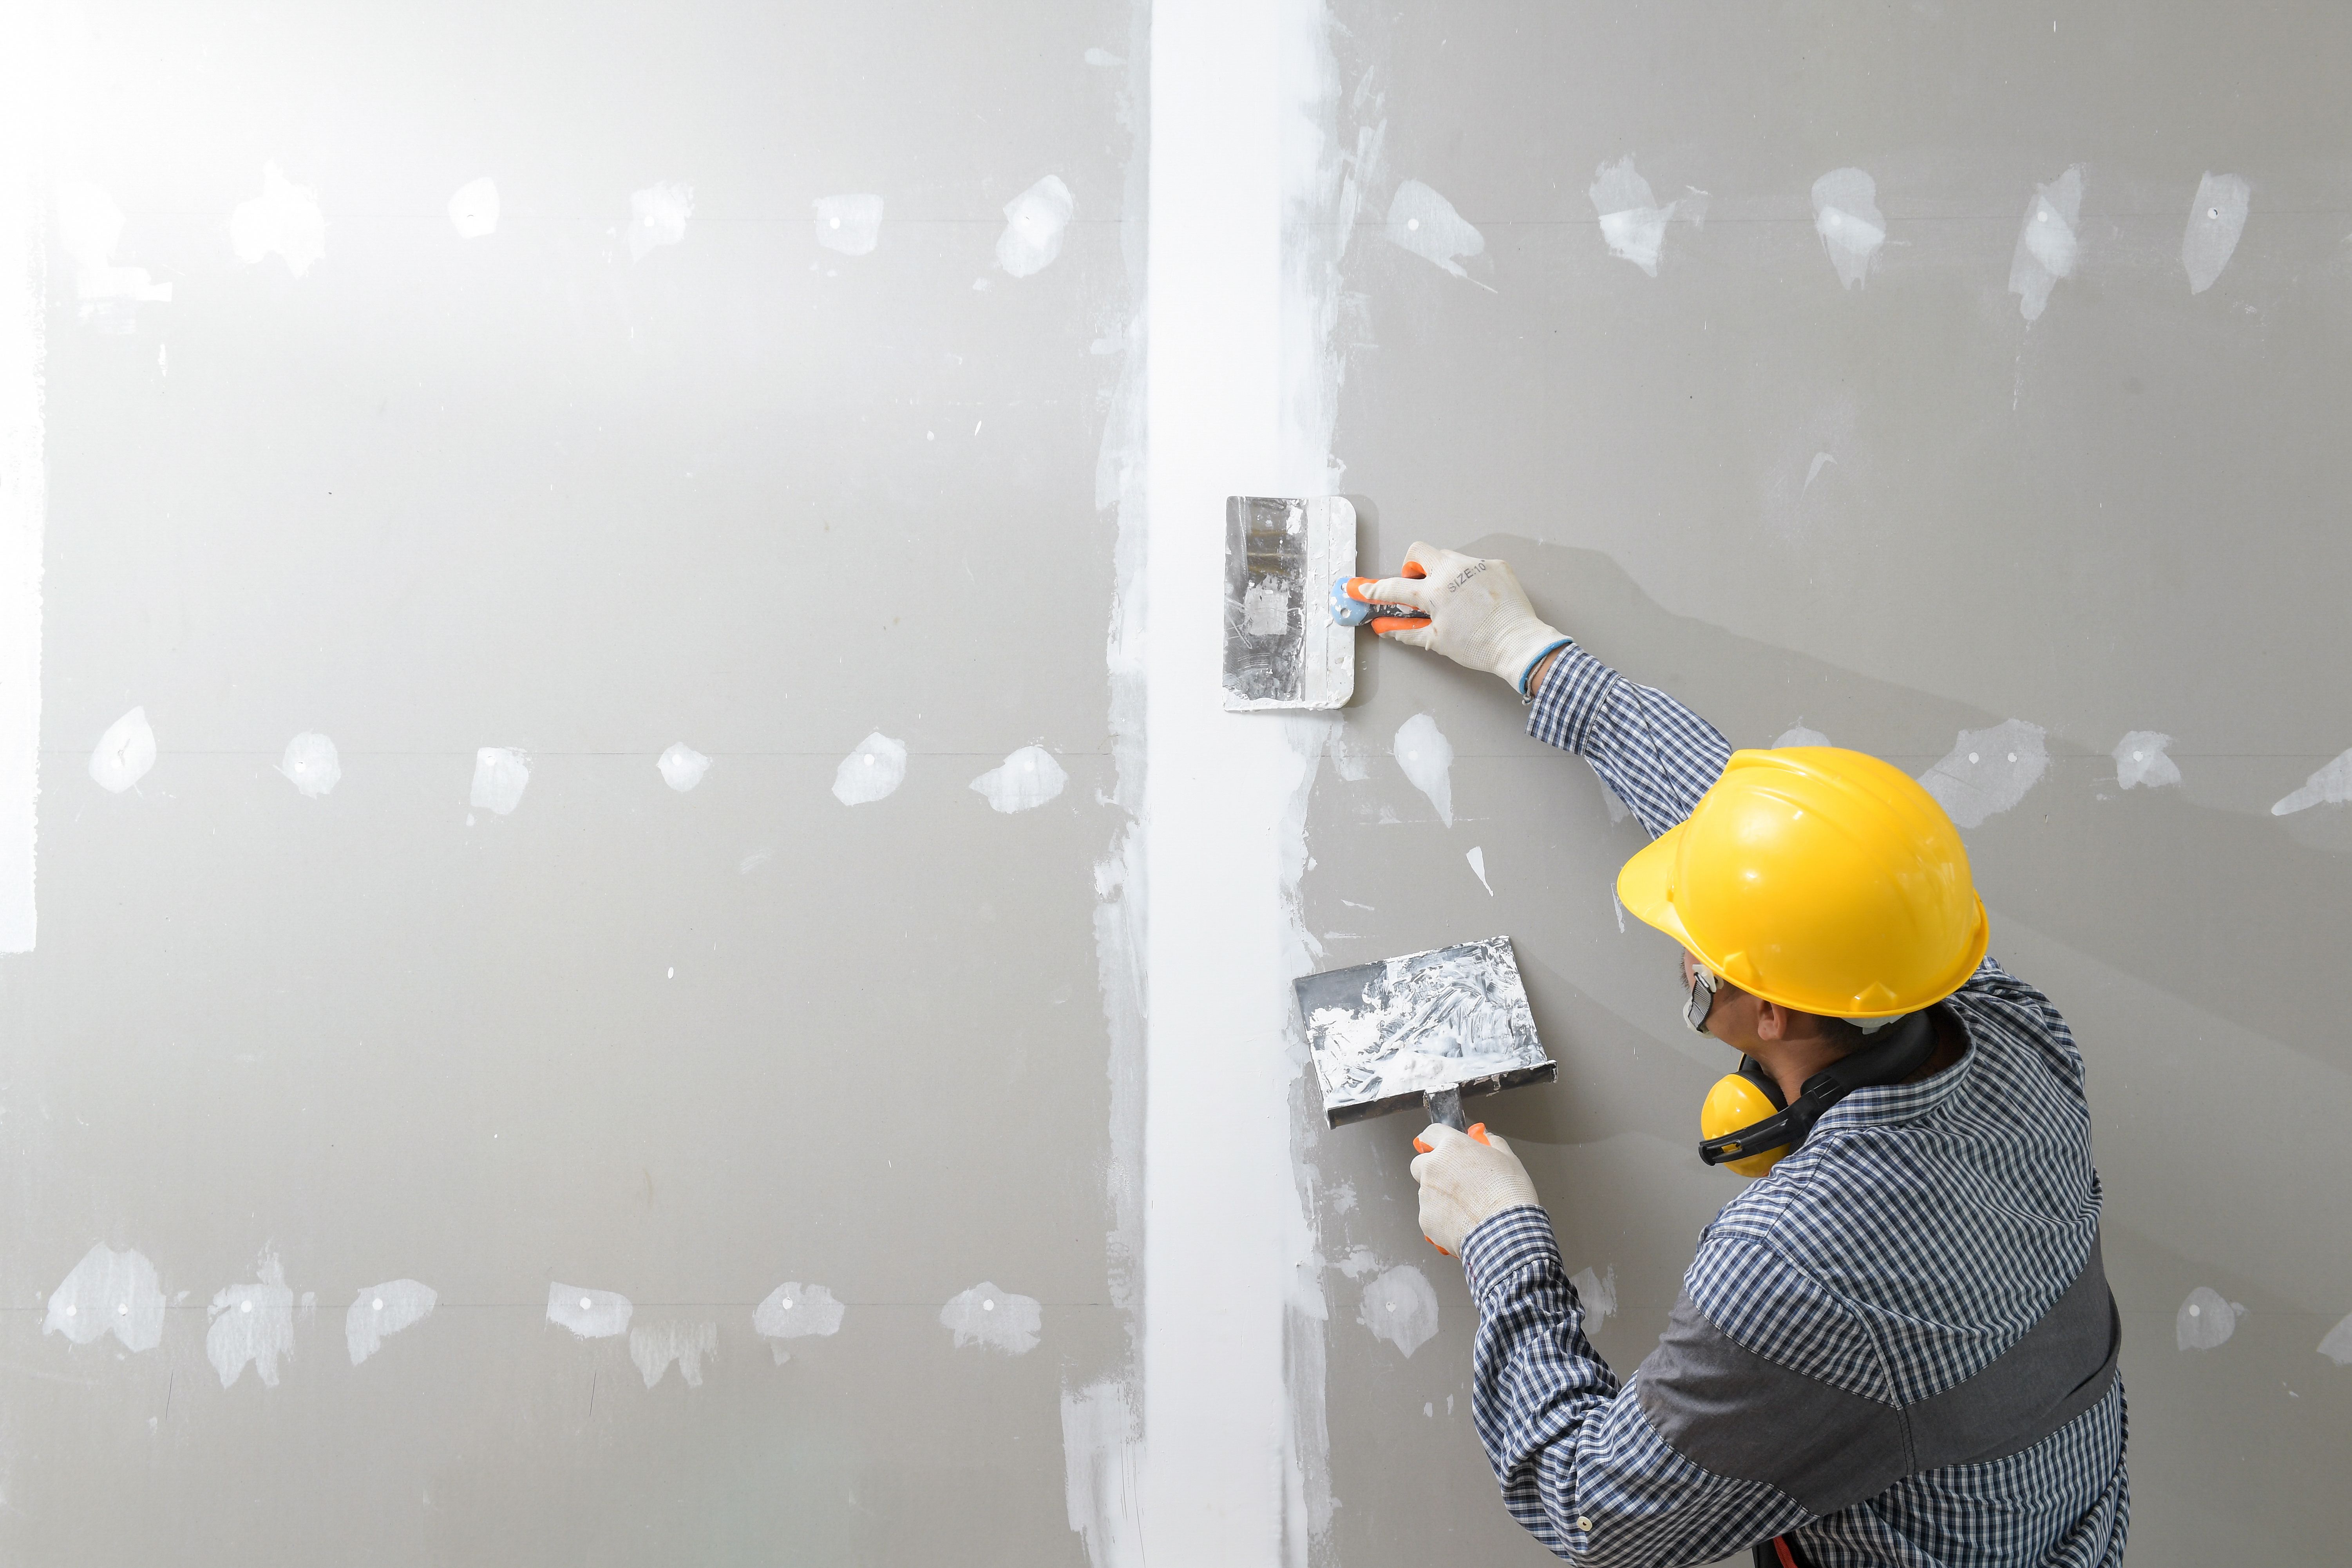
For minor damage such as small holes or hairline cracks, the repair process is relatively straightforward. Begin by cleaning the area to remove any dust or debris. For holes, apply a layer of joint compound with a putty knife, ensuring it's slightly higher than the surrounding surface. Once dry, sand it down until smooth.
If you're dealing with cracks, especially in plaster walls, widen the crack slightly with a utility knife to create a V-shape. This will allow the compound to adhere better. Apply the compound, let it dry completely, then sand for a seamless finish.
Tackling Larger Holes
Larger holes in drywall require a more robust approach. Start by cutting out a square around the damaged area using a utility knife. Then, cut a new piece of drywall to fit the hole. Attach it with drywall screws to the existing studs behind the wall.
Once secured, apply drywall tape over the seams and cover with joint compound. Feather the edges to blend with the existing wall surface. After drying, sand the area smooth before priming and painting.
Finishing Touches: Sanding and Painting
After completing the repairs, the final steps are crucial for ensuring your patchwork blends seamlessly with the rest of the wall. Sand the repaired area to perfection, removing any excess compound and smoothing out edges. Use fine-grit sandpaper for a flawless finish.
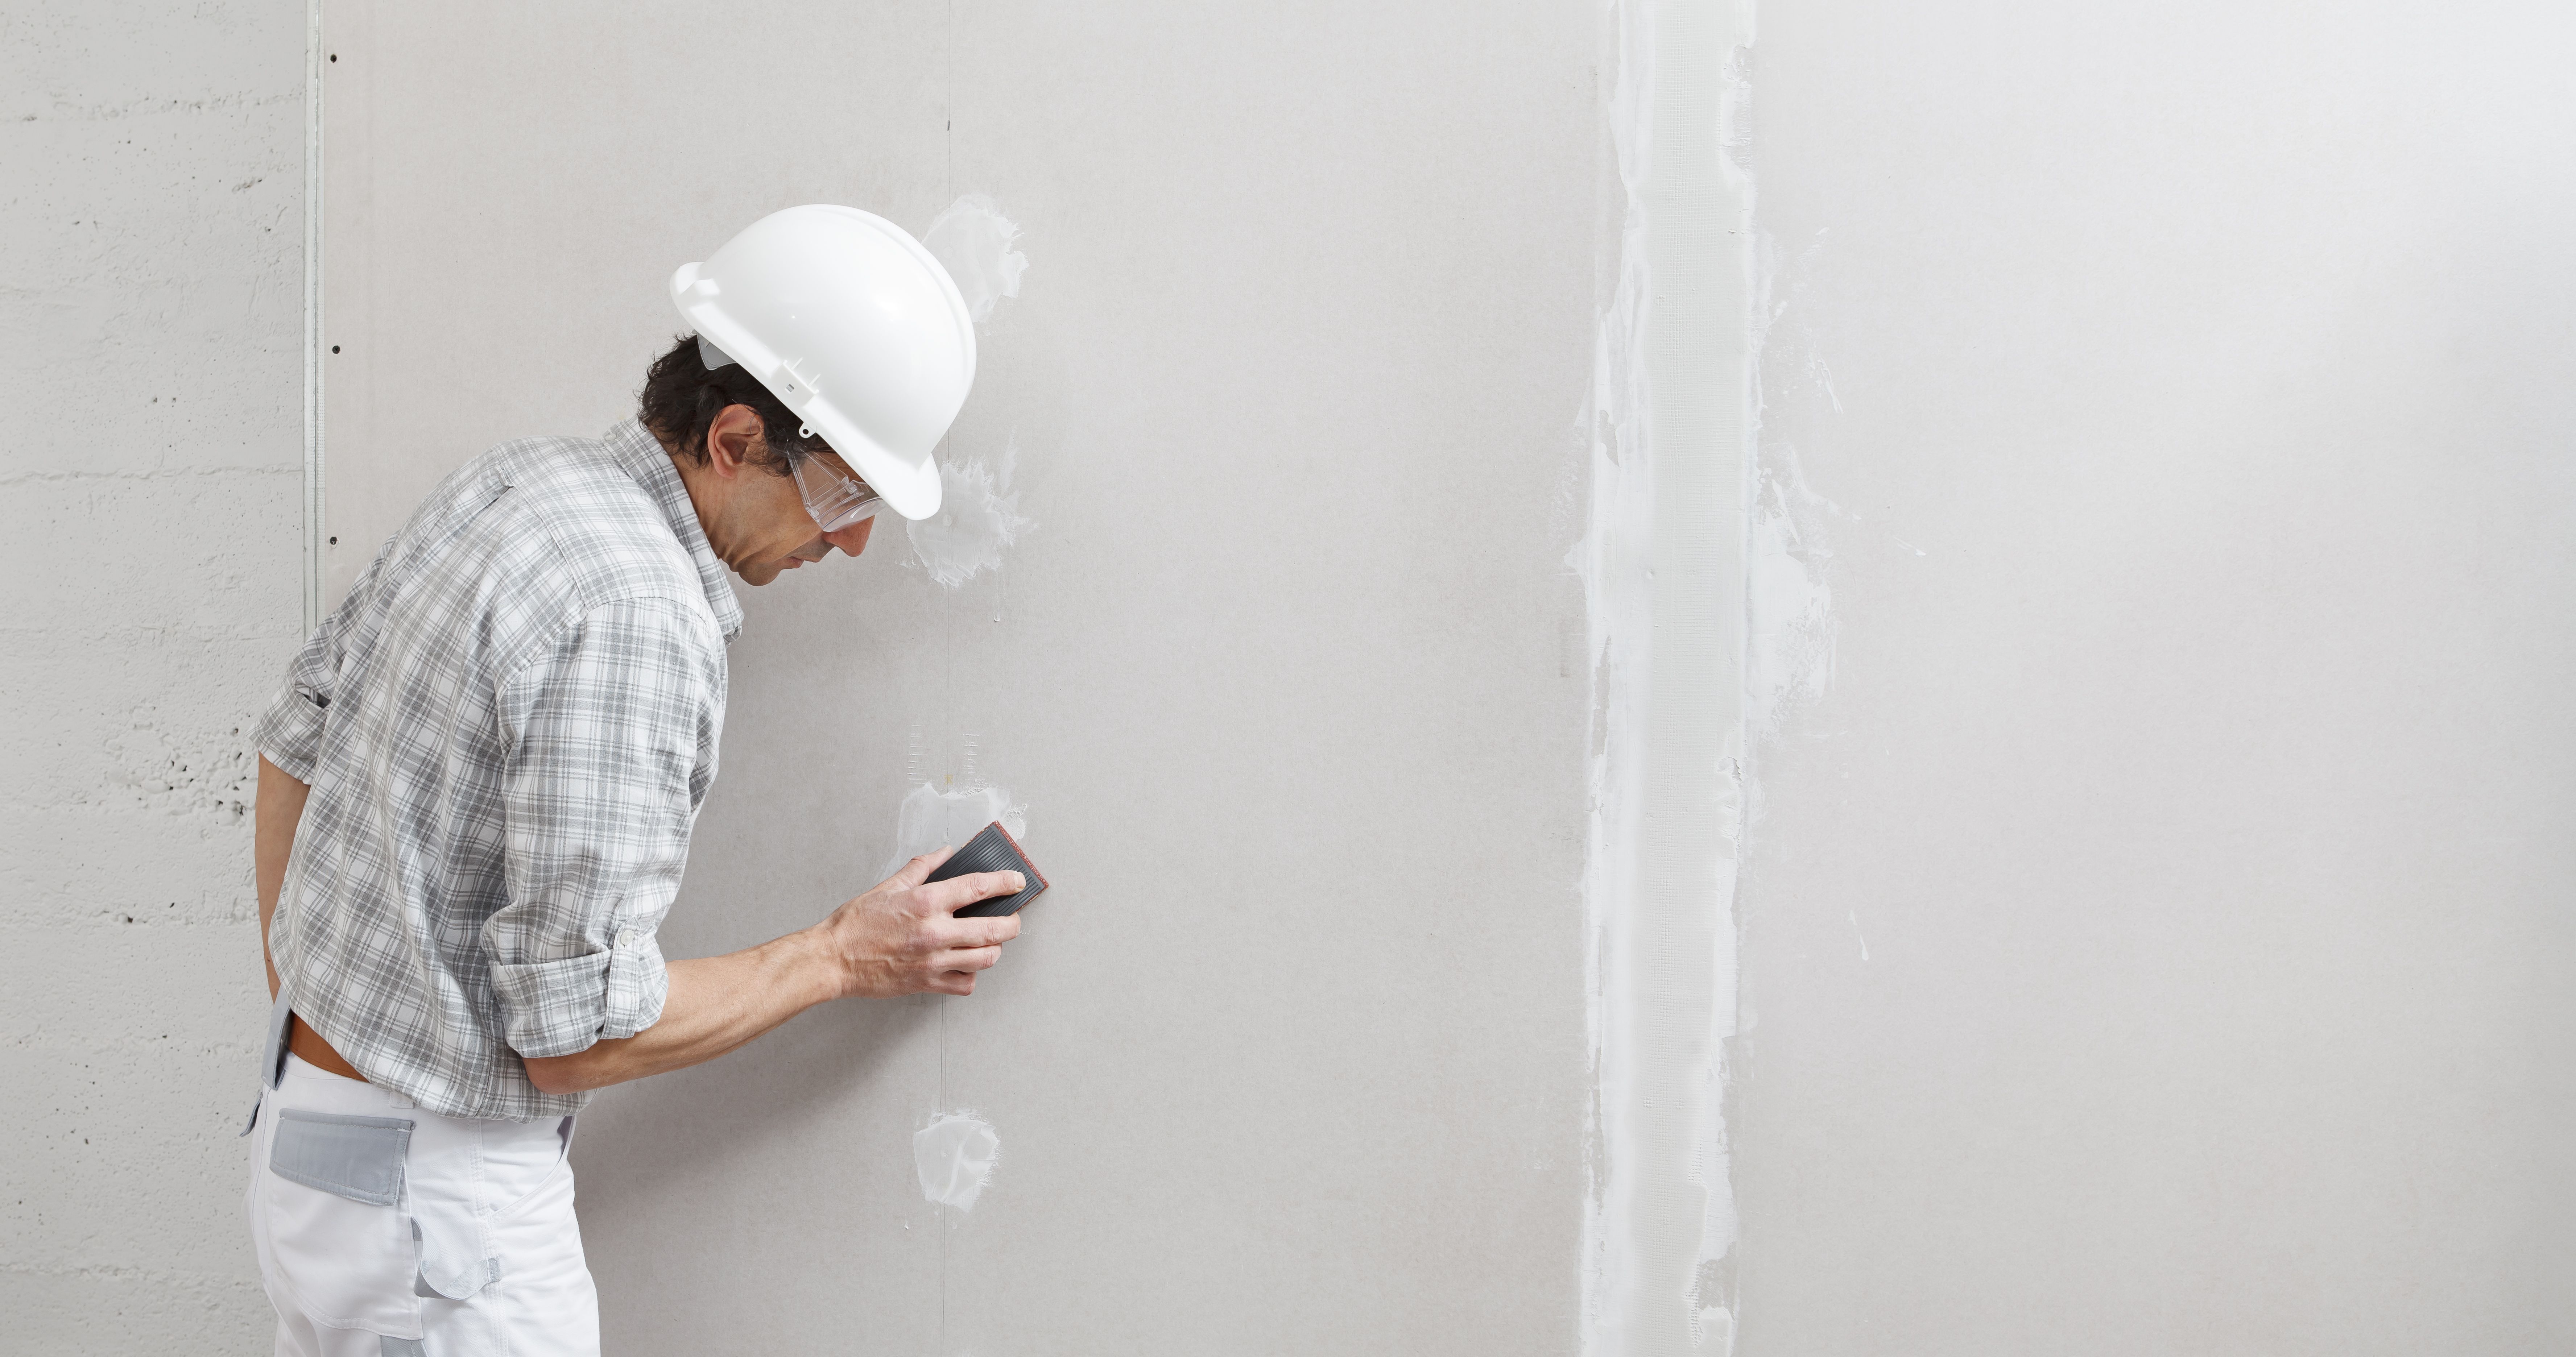
Apply a coat of primer to seal the repaired area, which helps in achieving a uniform paint application. Finally, paint over the area using matching wall color for a cohesive look.
Preventative Measures for Future Damage
Once your repairs are complete, consider taking steps to prevent future damage. For instance, controlling humidity levels in your home can prevent moisture-related issues such as mold or cracking in plaster walls. Installing impact-resistant drywall in high-traffic areas can also help reduce damage from accidental bumps.
Regular inspections of your walls can catch potential problems early before they develop into larger issues. By maintaining your walls properly, you can extend their lifespan and keep your home looking its best.
Conclusion
DIY drywall and plaster repair is a valuable skill for Ottawa homeowners. By following expert tips and using the right materials, you can address common issues effectively. Not only does this save you money on professional repairs, but it also gives you a sense of accomplishment as you maintain your home with confidence.